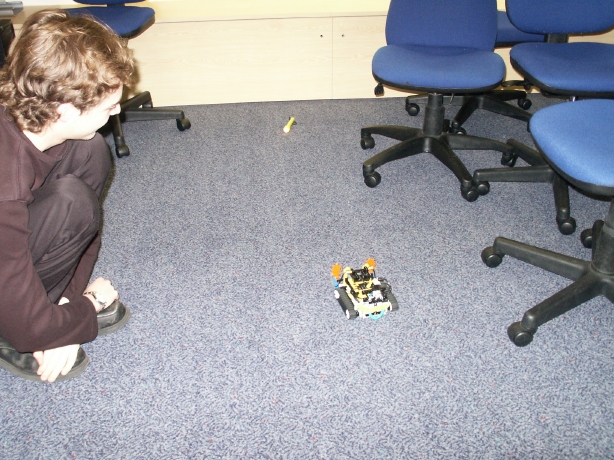
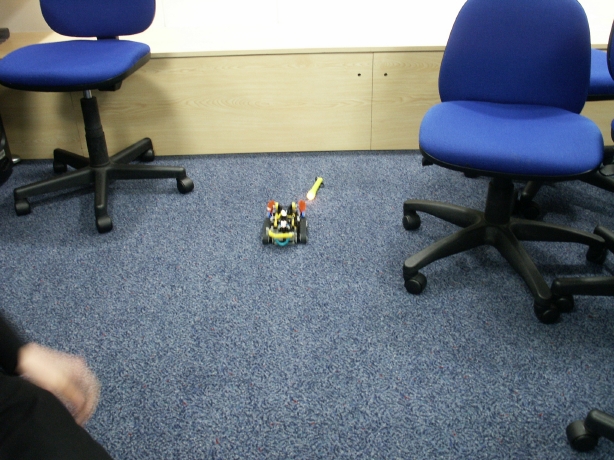
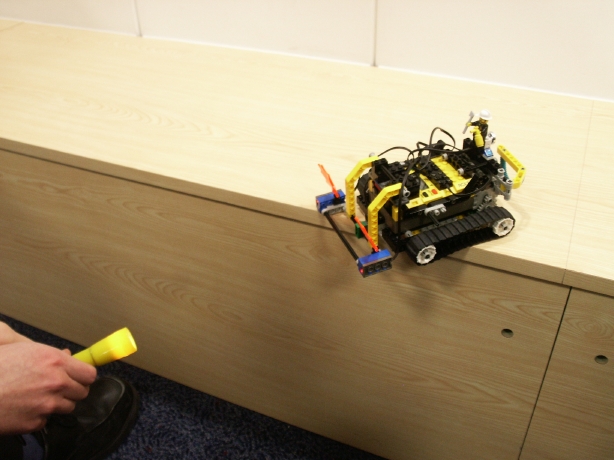
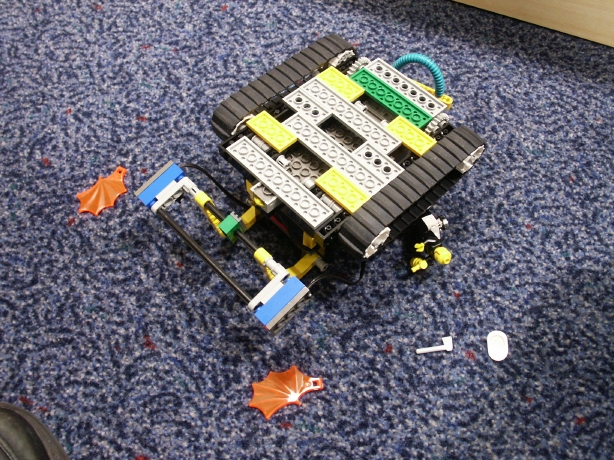
9th February Notes / Photos
Aim
Design and build a mobile robot to act as follows:
- Randomly "cruise" around
- Turn towards and approach a source of bright light (torch)
- Stop if the source of bright light is above a predetermined threshold, not to bump into it
- Detect a collision with an obstacle and "escape" by backing up and rotating through a suitable angle.
Notes / Comments
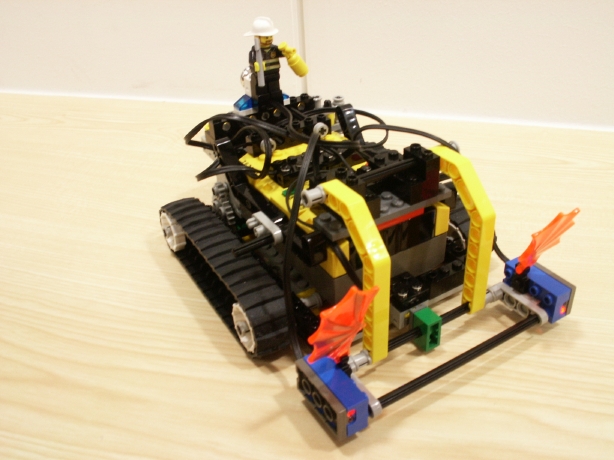
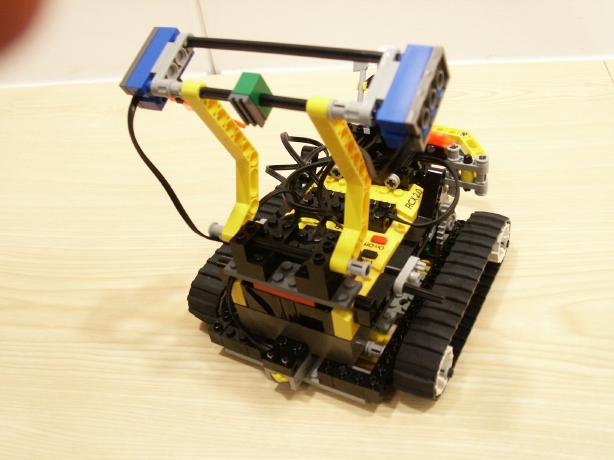
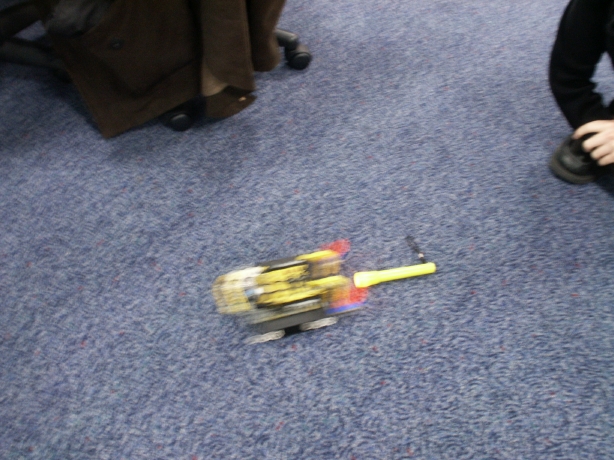
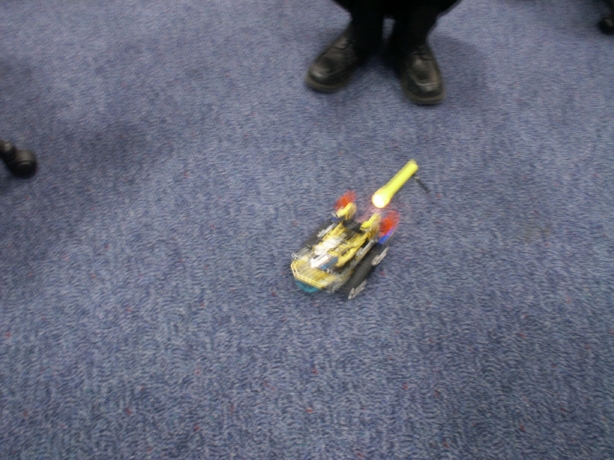
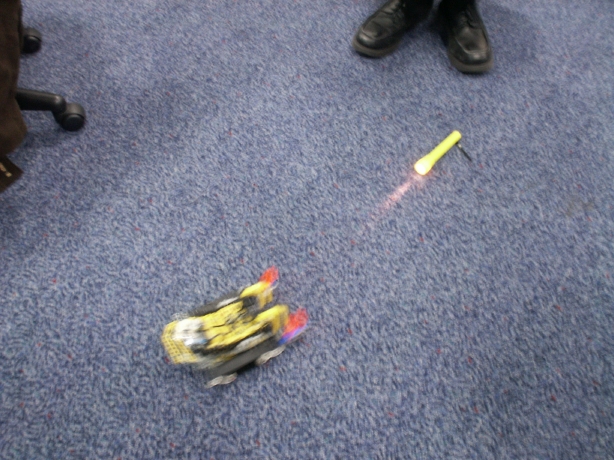
The core of the Robot design (i.e. RCX brick placement, motors, treads) were already created during previous tutorials. We already had the light sensors wired up aswell (however they were mounted on the top of the device).
During this tutorial, we mainly re-wrote the control code, but also added the front and rear bump sensors, and relocated the light sensors, as-well-as a few cosmetic changes, and the placing of the lego torch on the back.
Front Bump Sensor
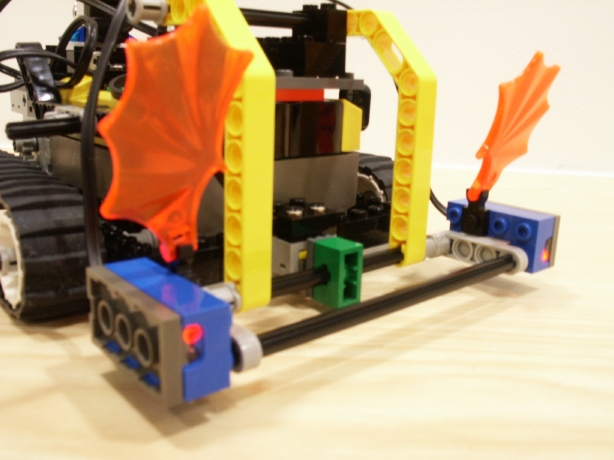
The front bump-sensor went through several design iterations. The principal is the same as our final design, yellow bars that can swing from the top of the robot to some outstrech poles covering the front of the robot which, when hit, will collide with a low mounted bump sensor.
To start with, we only used one yellow bar with several long black poles coming out of it to detect collisions at the front of the robot. This had the problem that when the robot collided with objects away from its center, the yellow bar would have more of a rotational than pushing force applied and the switch would not always trigger.
To combat this, we added a second yellow bar, and placed a brick in the middle to impact against the switch. This was an improvment, however the brick did not originally have a smooth surface so the bump sensor would not always trigger. This was easily solved by the used of a 'smooth' brick placed on top (just visible in some of the photo's).
Rear bump sensor
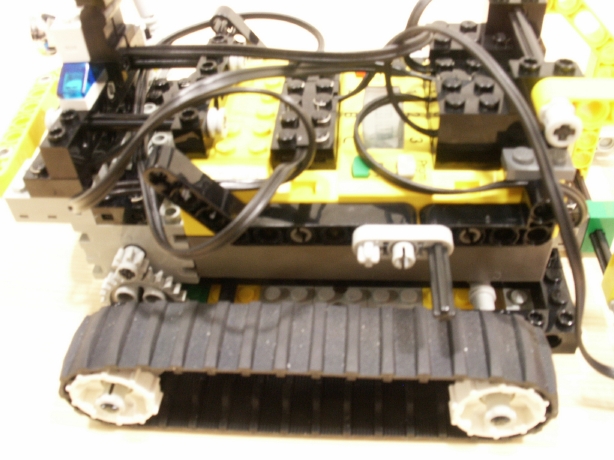
We would have liked to have created the rear bump-sensor in the same way the front one was designed, however the necessary supports and wires to reach the motors made this slightly impractical. Instead we created a support to place a swinging arm and mounted the switch on the opposite side. Some playing with the lego pieces had to be done to make sure the arm was firmly in place and only had 1 degree of freedom.
Both the rear and front bump sensors are wired into the same input.
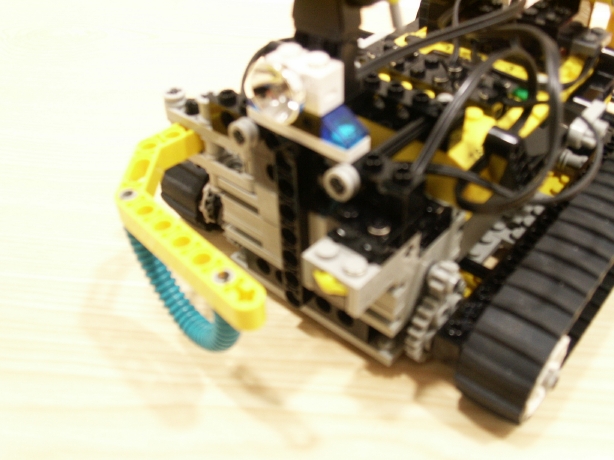
Light Sensors
We orginally mounted the front bump sensor supports on top of the light sensors. This quickly changed as we realised the yellow bars where blocking light to the sensors, and they were too high up to properly detect a floor-level torch.
Once the design of the front-bump sensor stabilised, we swapped the light sensors on the top of the robot for some normal blocks and added a second front bar (and grey extenders) to the front of the bump sensor to mount the light sensors against. This has proved generally successfull. However there is a small dead-spot between the two sensors where no light is picked up.
Each light sensor has its own input sensor.
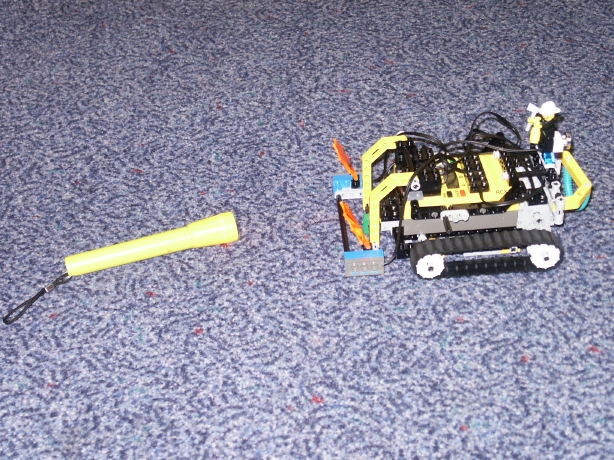
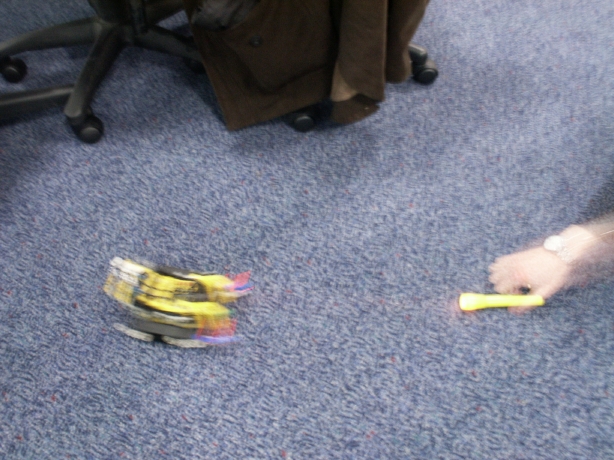
Torch Bulb
We mounted this on the rear of the robot and wired it up to the free output spot.