| Department of Computing | Imperial College |
| Setting up PPP on 68K Apple Macintoshes | |
Please note that, as of the beginning of term 2001, 68K Macintoshes are no longer supported by the department of computing. Hence this page is offered in good faith for informational purposes only. No support pertaining to this issue/process can be given.
The DoC dial-in service uses PPP ( Point to Point Protocol ) with CHAP authentication. For this you will need Apple's Open Transport PPP, which replaces Config PPP (Config PPP does not support CHAP). In addition, Open Transport Version 1.1.1 or later is needed to run Open Transport PPP.
Open Transport will not work on Macs that have a 68000 or 68020 CPU (i.e. Mac plus, Mac SE, Mac II, Mac LC, Mac Classic, Mac Portable, and PowerBook 100 ) and will require System 7.1 or later. Memory requirements are at least 5Mb RAM for System 7.1, 8 Mb for System 7.5, and 16 Mb for System 8.0.
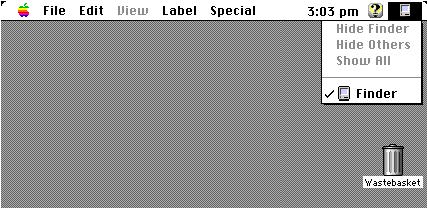
To find out which version of the system software is installed on your Mac, first select the Finder from the top right of the menu bar:
Then select About This Macintosh or About This Computer from under the Apple symbol, top left of the screen:

You will see the window below, showing the system version and total amount of memory the machine has (in this case 20,480K or 20.48 Mb):

The Open Transport and Open Transport PPP software is available on a portable hard disk from the CSG help desk , or from the Networking folder within the Mac Stuff folder in the Staff Server volume which appears in the IC Doc zone on your departmental Mac's "Chooser".
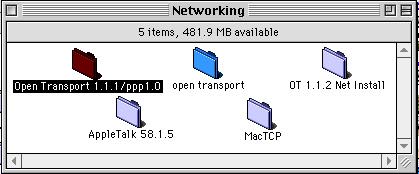
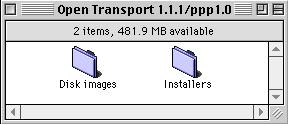
The folder Open Transport 1.1.1/ppp1.0 contains both disk images that install onto a 1.4Mb floppy, and installer files that can be copied directly onto a hard disk or zip disk.
Note that for the disk image files you will also need Stuffit
Expander and Disk Copy to decompress the files from
the floppies.
These are provided in the Disk images folder:
Notes on how to install this software are provided within the relevant folders.
This software will also be available on CD ROM in the near future.
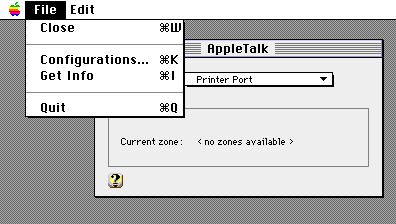
If you have Mac Os 7.6.0 or later, Open Transport 1.1.1 will already be installed but might not be running. The same applies to some versions of System 7.5. If it is running, you will have files called "Apple Talk" and "TCP/IP" in the Control Panels folder. If you click on AppleTalk you should be able to select between Modem Port, Printer Port and, if you have it, Ethernet:

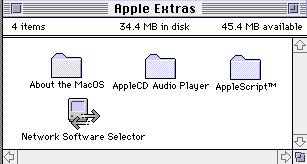
If Open Transport is not running you will find files called "Network" and
"Mac TCP" in the Control Panels folder. To start it running you will
have to run a program called Network Software Selector, usually
found in the Apple Extras folder. If it's not there you will have to
install it from your system disks.
Double click on Network Software Selector, and a box like
the one below will be displayed:

Click on the "Use Open Transport" button and re-boot your machine.
Open Transport should now be running, and you should see the AppleTalk file in the Control Panels folder.
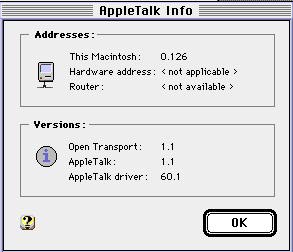
To find which version of Open Transport you have, double click on the AppleTalk icon in Control Panels, and select Get Info from the file menu.
A window like the one below will appear. In this example the Mac has Open Transport version 1.1 which came with Mac Os 7.5.3. This is not sufficent to run MacPPP.
The files on Mac Stuff are compressed disk image files, when they are
uncompressed using Disk Copy each file will form an installer
disk. If you have a Power Mac you will require all four, if an older Mac
(generally known as a 68K machine) you will only need the first two disks.
You can either copy Disk Copy to your hard disk and run it
from there, or open it from Mac Stuff.
Once Disk Copy is running just double click on the desired
disk image and follow the instructions (if your machine already has
Disk Copy installed, all you have to do is double click on
the disk image you want). When the disk image has been loaded, click on
the copy button. You will be prompted to insert a 1.4Mb floppy, then
to Duplicate or Cancel. The floppy you insert does not have to be formatted
or erased as Disk Copy does this for you.
The installer will prompt you to insert the other disks it needs when ready.
When finished you will be asked to restart the computer.
Stuffit
Expander
to decompress the file.
Copy the uncompressed PPP file to your hard disk, and from here double click on it, this will Expand the file to a folder called Open Transport 1.0.
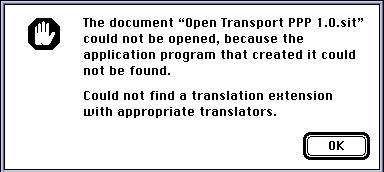
If a dialogue box like the one below is displayed, you will have to Expand the
file from within Stuffit Expander:
To do this open Stuffit Expander and choose Expand from the
file menu. Then select Open Transport PPP 1.0 sit , and click Expand.
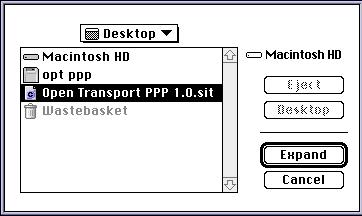
This places a folder called Open Transport 1.0. on your desktop.
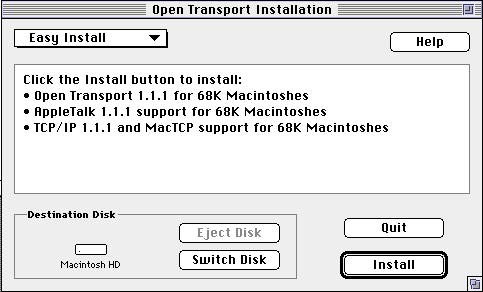
Open this folder and double click on the installer. A dialogue box will appear telling you about the disk. Click continue and you should see the box below.
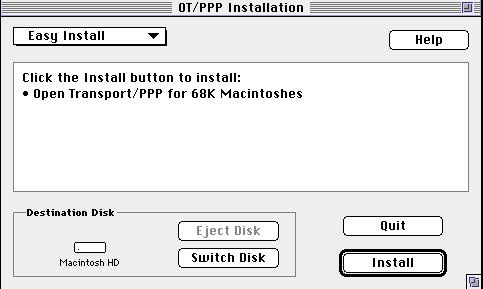
Check that the information is correct (hard disk, type of machine), and click Install.
PPP will be installed on the hard disk. Restart the machine when prompted.
When you close the box you will be asked to save the configuration.
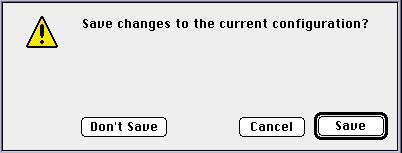
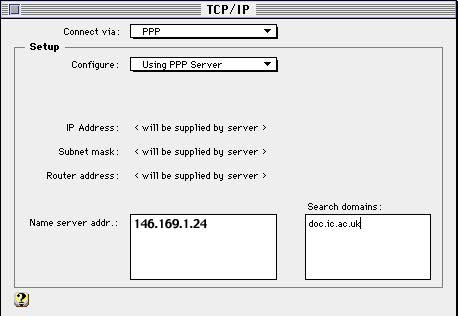
Open the TCP/IP control panel and set up as below:
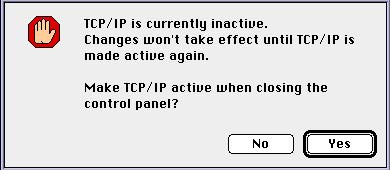
When you close the box you will see the dialogue box below:
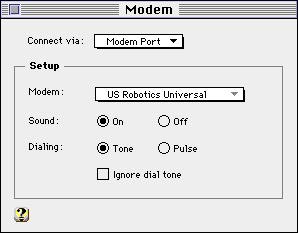
Now open the PPP control panel, and set up as below:
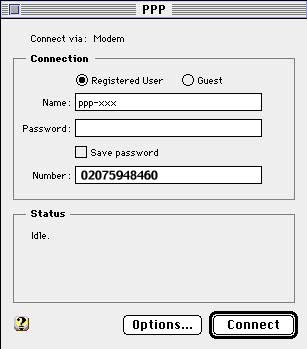
Unless you want to type in your password every time you connect, enter your password and check the save password box. Note : You might experience problems sending mail with Eudora if you leave your password blank.
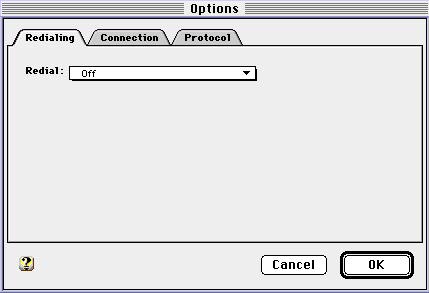
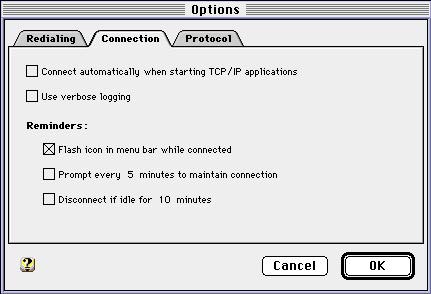
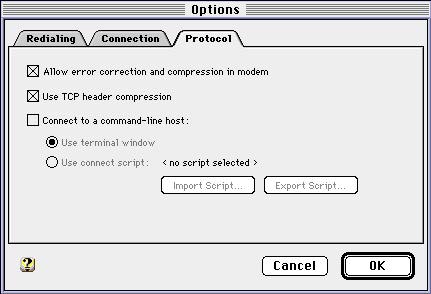
Under options there are several variables that can be changed, Redialing, Connection, and Protocol, but the standard set up is ok for most applications.
Now connect a modem to the telephone line and see if it all works.
All you have to do is open the application you want to use , say Netscape, and PPP will be launched and the modem automatically dial the number that was entered in the PPP control panel.
If necessary you can launch PPP first by opening the PPP control panel and clicking connect, and then launch your application.
Have fun!
| © CSG / 2001 |