In this section you will create a new plug-in project and then import the Sample New Editor Plug-in to create your own new editor plug-in.
Note: This assumes you have already installed the Sample New Editor plug-in using the instructions here.
| 1. | Go to the Package Explorer View. |
| 2. | Select from the Eclipse menu options File àNew àOther àPlug-in Project. Click Next. |
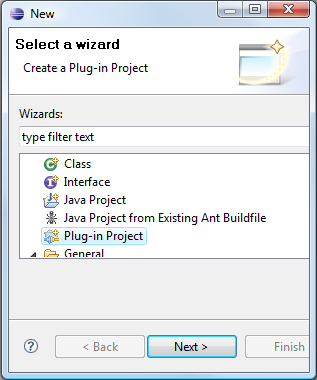
| 3. | Enter a project name (e.g. NewLTSAEditor) and leave all other settings as default. Click Next. |
| 4. | Deselect "Generate an activator, a Java class that controls the plug-in's life cycle. Leave all other settings as default and click Finish. |
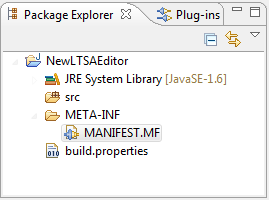
| 5. | In the Package Explorer View you should now have a newly created NewLTSAEditor project. |
| 6. | Select the project (by clicking on the NewLTSAEditor project branch), right-click and select Import from the pop-up context menu. |
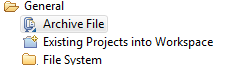
| 7. | Under General, select Archive File and click Next. |
| 8. | On the Import Archive File dialog, select Browse and find your plugins directory from the root of the main Eclipse install directory (e.g. c:\eclipse\plugins). Then select the newly installed uk.ic.doc.ltsa.eclipse.newEditor_x.x.x.jar (where x.x.x is the version installed). |
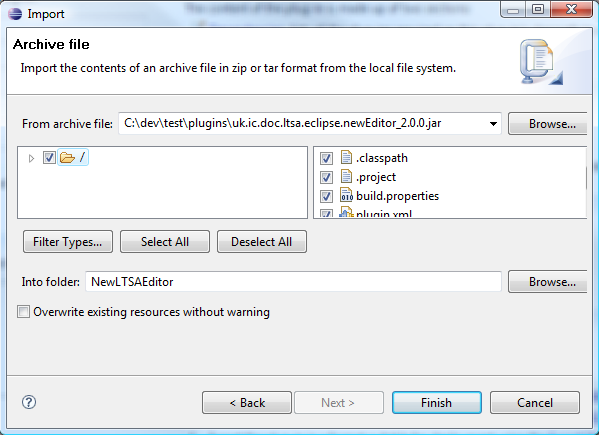
| 9. | Make sure the root directory is ticked and that the Into Folder has the name of your new project (e.g. NewLTSAEditor). |
| 10. | Click Finish to import the source for the Sample New LTSA Editor plug-in. You should answer "Yes To All" to any questions whether to overwrite files in the folder. |
| 11. | In the Package Explorer View, you should now be able to see the imported packages and files. |
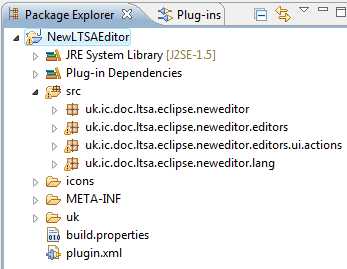
You can now go ahead and run the new Sample Editor as a plug-in project.